Children’s artwork brings joy and color to our homes, but it can quickly pile up and create clutter. From finger paintings and drawings to 3D crafts, managing your child’s creative output can feel overwhelming. The good news? With some thoughtful strategies, you can keep kids’ art organized while preserving those precious memories.
In this post, we’ll explore practical tips and creative ideas to help you manage, display, and store your children’s artwork in an easy and enjoyable way.
Why Organizing Kids’ Art Matters
Before diving into the how, it’s helpful to understand why organizing kids’ art is important:
– Reduces Clutter: Keeps your living space tidy and clutter-free.
– Preserves Memories: Ensures special pieces are saved and don’t get lost or damaged.
– Boosts Creativity: Displaying art encourages kids to keep creating.
– Teaches Organization: Helps instill a sense of responsibility in your child.
Step 1: Set Up a Dedicated Art Space
One of the best ways to stay on top of artwork is by creating a specific area to collect new creations. This could be:
– A bulletin board in the child’s room or family area.
– A designated drawer or bin for fresh pieces.
– An art shelf for displaying 3D projects.
This “inbox” makes it easy to gather artwork before deciding what to keep, display, or recycle.
Step 2: Choose Display Methods That Work for Your Family
Kids love to see their work showcased, and rotating displays can keep things fresh. Here are some ideas:
Wall Displays and Frames
– Use clipboards or string with clothespins for an easy-to-update gallery.
– Invest in frames with front-loading panels for simple art swaps.
– Magnetic boards allow quick pinning and reordering.
Digital Displays
– Photograph artwork and create slideshows shown on digital photo frames.
– Use apps designed to organize kids’ art digitally.
Step 3: Create an Art Storage System
You won’t be able to keep every piece on display, but you can still save favorites in an organized way.
Use Portfolios or Folders
– Large artist portfolios hold flat artwork safely.
– Clear plastic sleeves in binders protect pieces from damage.
– Categorize by year or child to keep track.
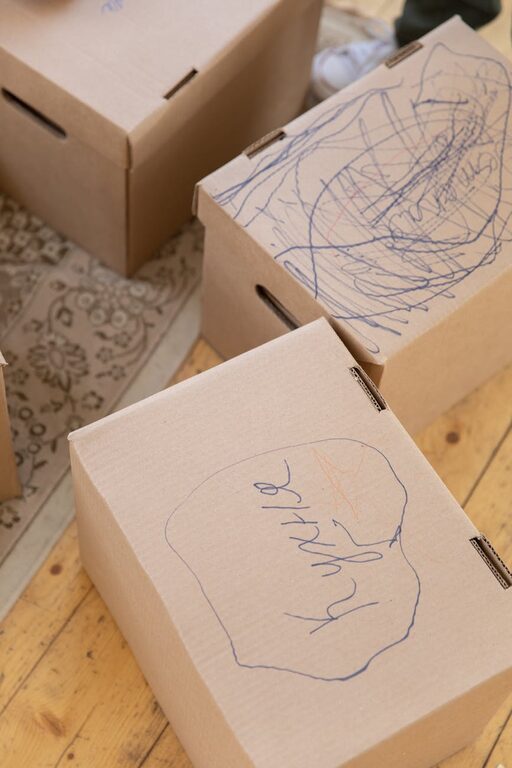
Storage Boxes
– Label boxes by age or grade.
– Consider under-bed storage boxes to save space.
– Use acid-free boxes to preserve older or sentimental art.
Step 4: Digitize and Archive
Digitizing artwork has many benefits:
– Saves physical space.
– Creates a backup in case originals are damaged.
– Allows you to share artwork easily with family and friends.
Tips for Digitizing
– Use natural light or a scanner for clear images.
– Keep files organized by date or child.
– Use photo books or printed albums to create physical keepsakes.
Step 5: Incorporate Art Into Practical Items
Transforming art into useful items can be a fun way to celebrate creativity.
– Turn drawings into calendars, greeting cards, or wrapping paper.
– Create custom mugs, t-shirts, or pillows featuring favorite art pieces.
– Laminate art to make placemats or bookmarks.
Step 6: Involve Your Child in the Process
Getting kids involved teaches organization skills and helps them value their work.
– Let them choose which pieces to display or keep.
– Encourage them to help with filing or photographing art.
– Make it a fun, regular routine to review new creations.
Step 7: Regularly Declutter and Curate
It’s okay to part with some artwork. Regularly sorting through pieces keeps your collection manageable.
– Set aside time every few months to review current artwork.
– Keep only the most meaningful or representative pieces.
– Consider gifting art to family members or donating for community projects.
Final Thoughts
Organizing kids’ art doesn’t have to be a daunting task. By setting up clear systems for displaying, storing, and digitizing artwork, you create a space where creativity thrives and memories last. Plus, involving your child in these activities makes the process enjoyable and educational.
With these tips, you can celebrate your child’s artistic journey while keeping your home neat and organized. Happy organizing!